
Note: this is an overview of the course builder. For more details about each feature, see the documentation linked under each section.
Start by visiting your Dashboard. Log in on the site, hover over your profile icon, and click on the Dashboard option. You can also directly enter the URL cheerleadingtools.com/dashboard into your browser’s address bar.
You’ll notice a Create a New Course button on the top-right. You can also hover over your profile icon at the top right of the site, and click “Create a new Course” on the left.
Course Info #
First up is the “Course Info” section. Here, you will find the following fields to add:
- Course Title: When creating your course, choosing an appropriate title is important. The title should accurately reflect the content of the course, so be concise and catchy.
- Course Slug: From this section, you can edit the Course Slug. This will appear in the URL after the final backslash. To increase the visibility of your course in search engine results pages, it’s important to make sure that the Course Slug is relevant, contains relevant keywords, and that each word is separated by hyphens.
- About Course: Use this field to give potential students a general idea of what they can expect from this course, such as what the course will include, its learning objectives, a brief overview of the content, and so on.
Note: we highly suggest entering your course name and slug, then click “Save as draft” before adding more content to the course. This is to make sure the content saves & the “Preview” button works.
Course Settings #
You can update basic course settings and content drip options from this section:
General #
In this section, you can customize the following:
- Maximum Student: Specify the maximum number of students that can be enrolled in the course. Setting the “Maximum Students” to 0 means there will be no limit on the number of students who can enroll in the course.
- Difficulty Level: Categorize the course into different levels of complexity, making it easier for students to choose the right course for their skill level. The four main levels are:
- All Levels: This option indicates that the course is suitable for students of all skill levels, from beginners to experts.
- Beginner: This option is for courses designed for students with little to no prior knowledge of the subject. These courses are intended to provide a solid foundation for further learning.
- Intermediate: This option is for courses intended for students who have some knowledge of the subject but want to deepen their understanding. These courses assume that students have a basic understanding of the subject and build on that knowledge.
- Expert: This option is for courses designed for students with a high level of skill and knowledge in the subject. These courses assume a high level of understanding and are designed to challenge students and help them develop their skills further.
- Public Course (if available): A setting that makes the course available for anyone to enroll. This means that the course can be accessed by anyone who has the link to the course page, and they do not need to log in or have an account to view the course content.
- Q&A: Enable a Question and Answer section for the course.
Content Drip (Optional) #
The “Content Drip” feature allows you to release course content to students gradually over a specified period of time.
To learn about Content Drip and the types of content scheduling options, please see the dedicated documentation.
Choose Course Category #
The “Choose Course Category” option allows you to categorize your online course into specific topics or areas of learning, making it easier for students to search and find courses that are relevant to their needs.
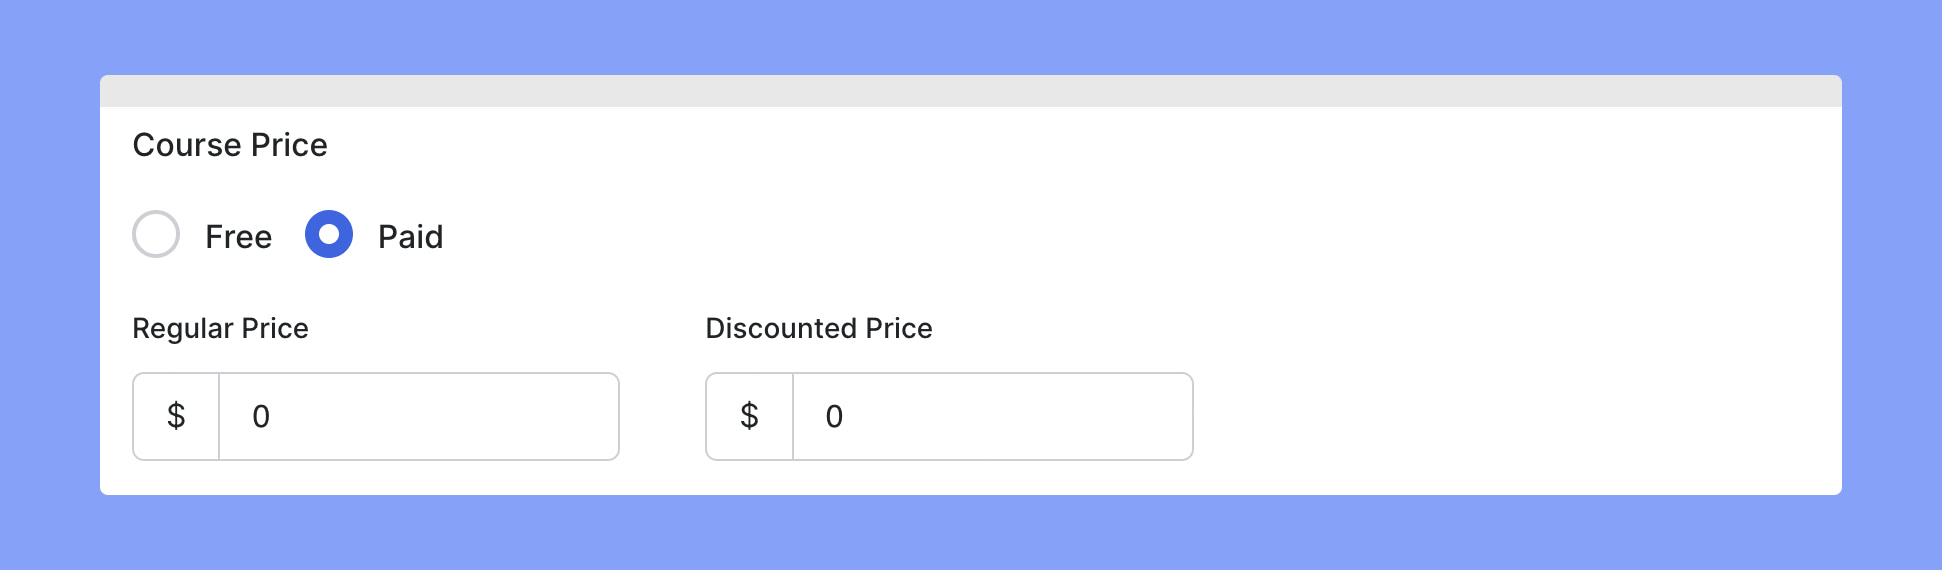
Set Course Price #
The “Set Course Price” section allows you to choose whether the course will be free or paid. If the course is paid, you have the option to set both a regular price and a discounted price.
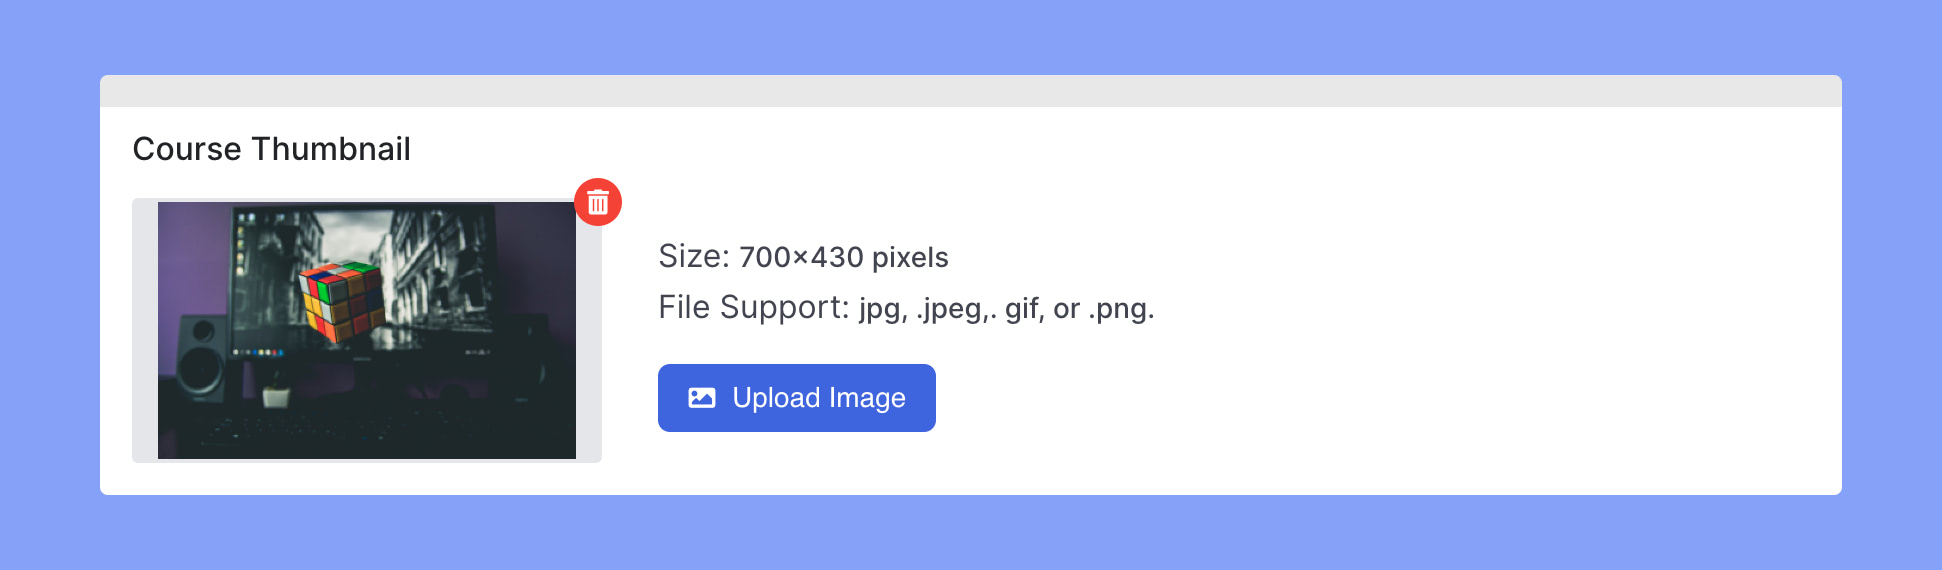
Set Course Thumbnail #
Add a main image for the course. This image will appear on the course listings, promotional materials, and other relevant pages. The purpose of the thumbnail is to make the course more visually appealing and to give potential students an idea of what the course is about.
Please make sure to follow the given instructions for the best results.
Course Intro Video (Optional) #
Add a video introduction to your course that will appear on the Course Overview Page for anyone to view, whether they have enrolled in the course or not.
Just copy and paste the URL of the Vimeo or YouTube video* you’d like to use, and it will display as a preview.
*Note: If you’re using a YouTube video, remember to change the “Visibility” setting to “unlisted”. That way, it won’t be visible to the public on YouTube – only within your course. Here’s how to do that.
Course Builder #
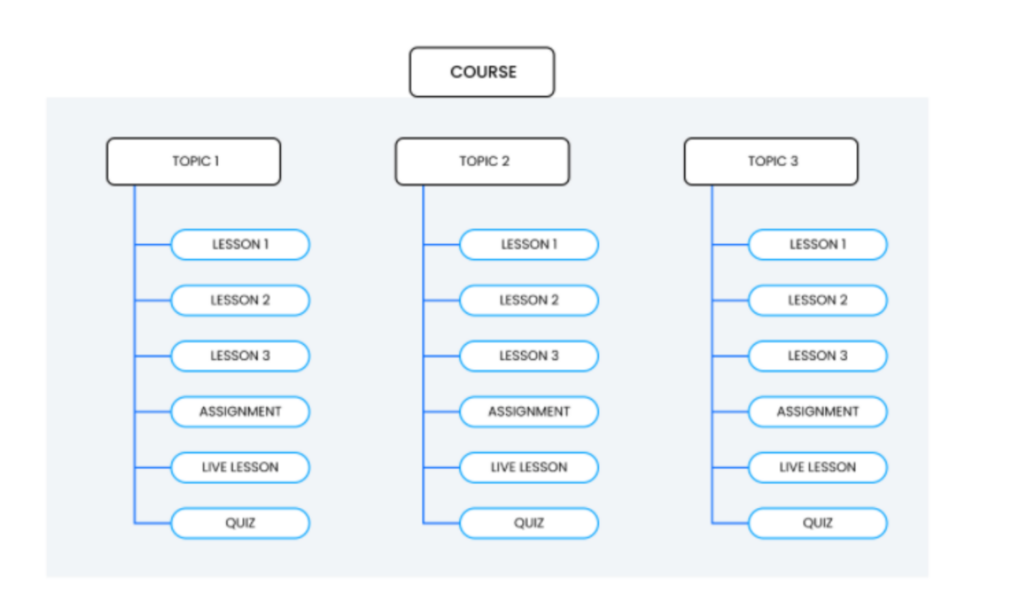
The “Course Builder” is where you will build out your course. This is where you will be managing your course content, including adding, editing, and organizing topics, lessons, and quizzes. You can also use this section to customize important course details such as information, settings, and attachments.
The structure of a course consists of topics, and within each topic, there are/can be lessons, quizzes, and assignments:
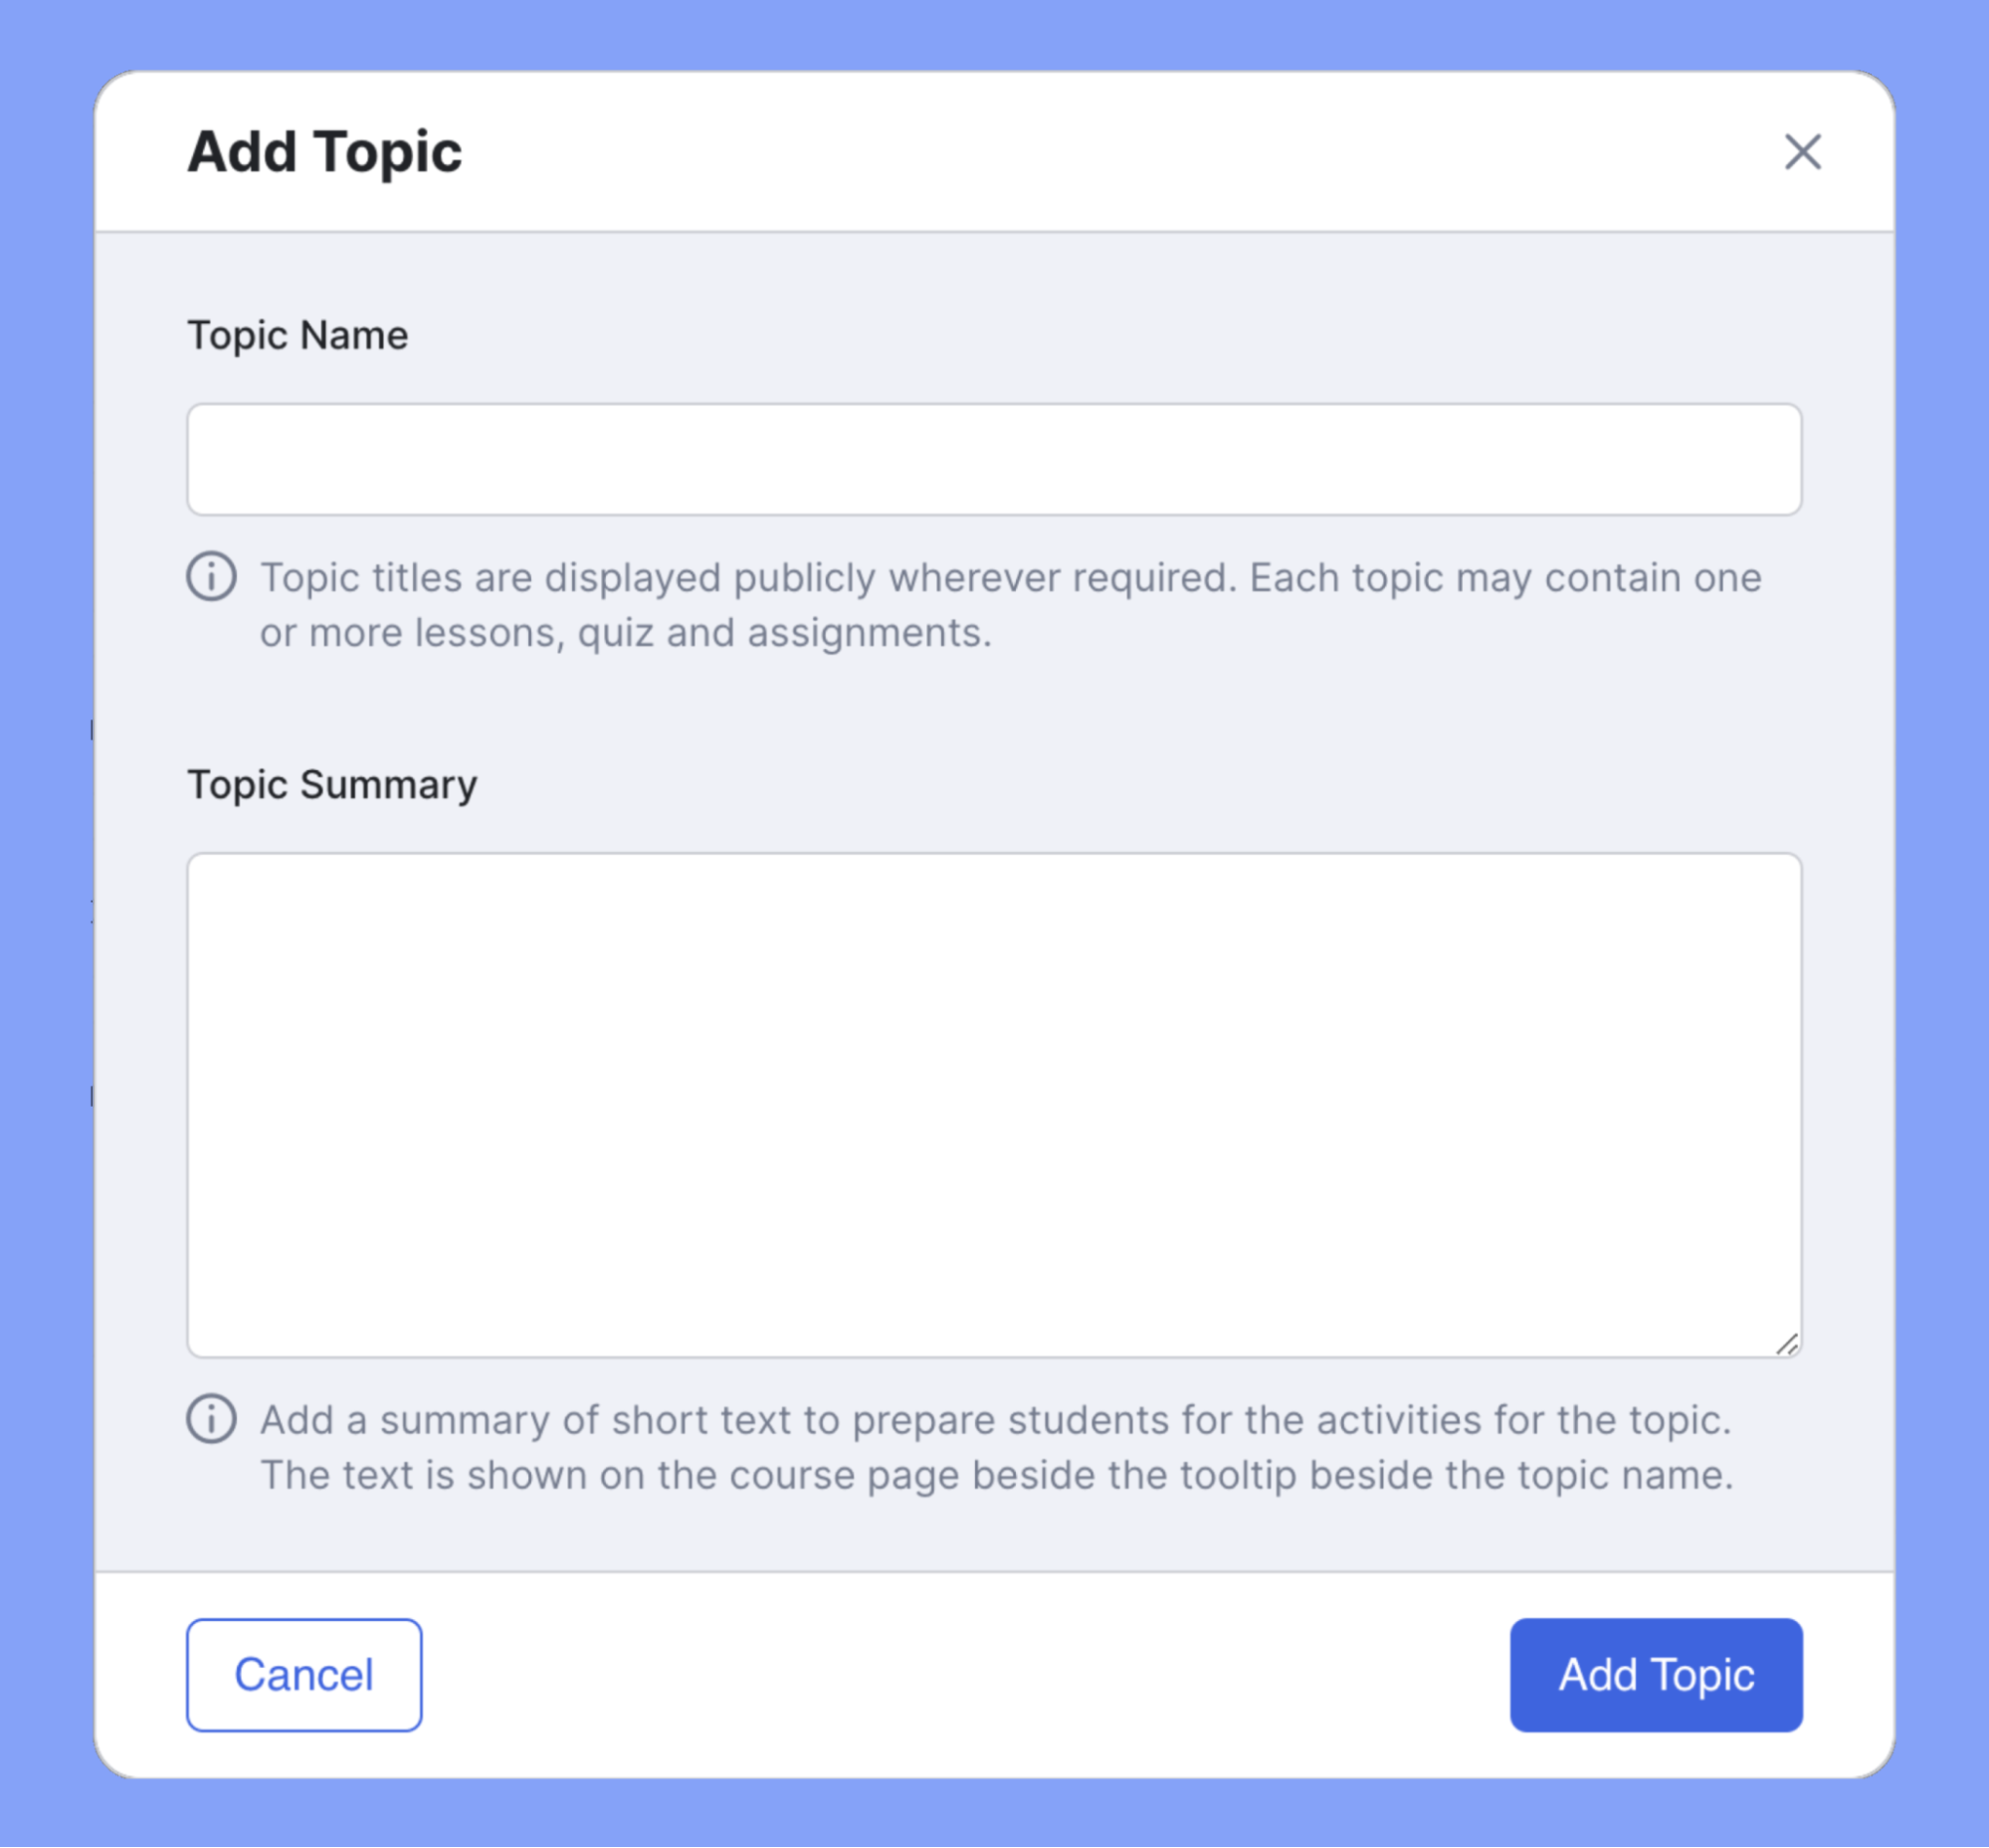
Add New Topic #
Simply provide a name and summary for each topic, and use the buttons provided to add lessons and quizzes:
Add Lesson #
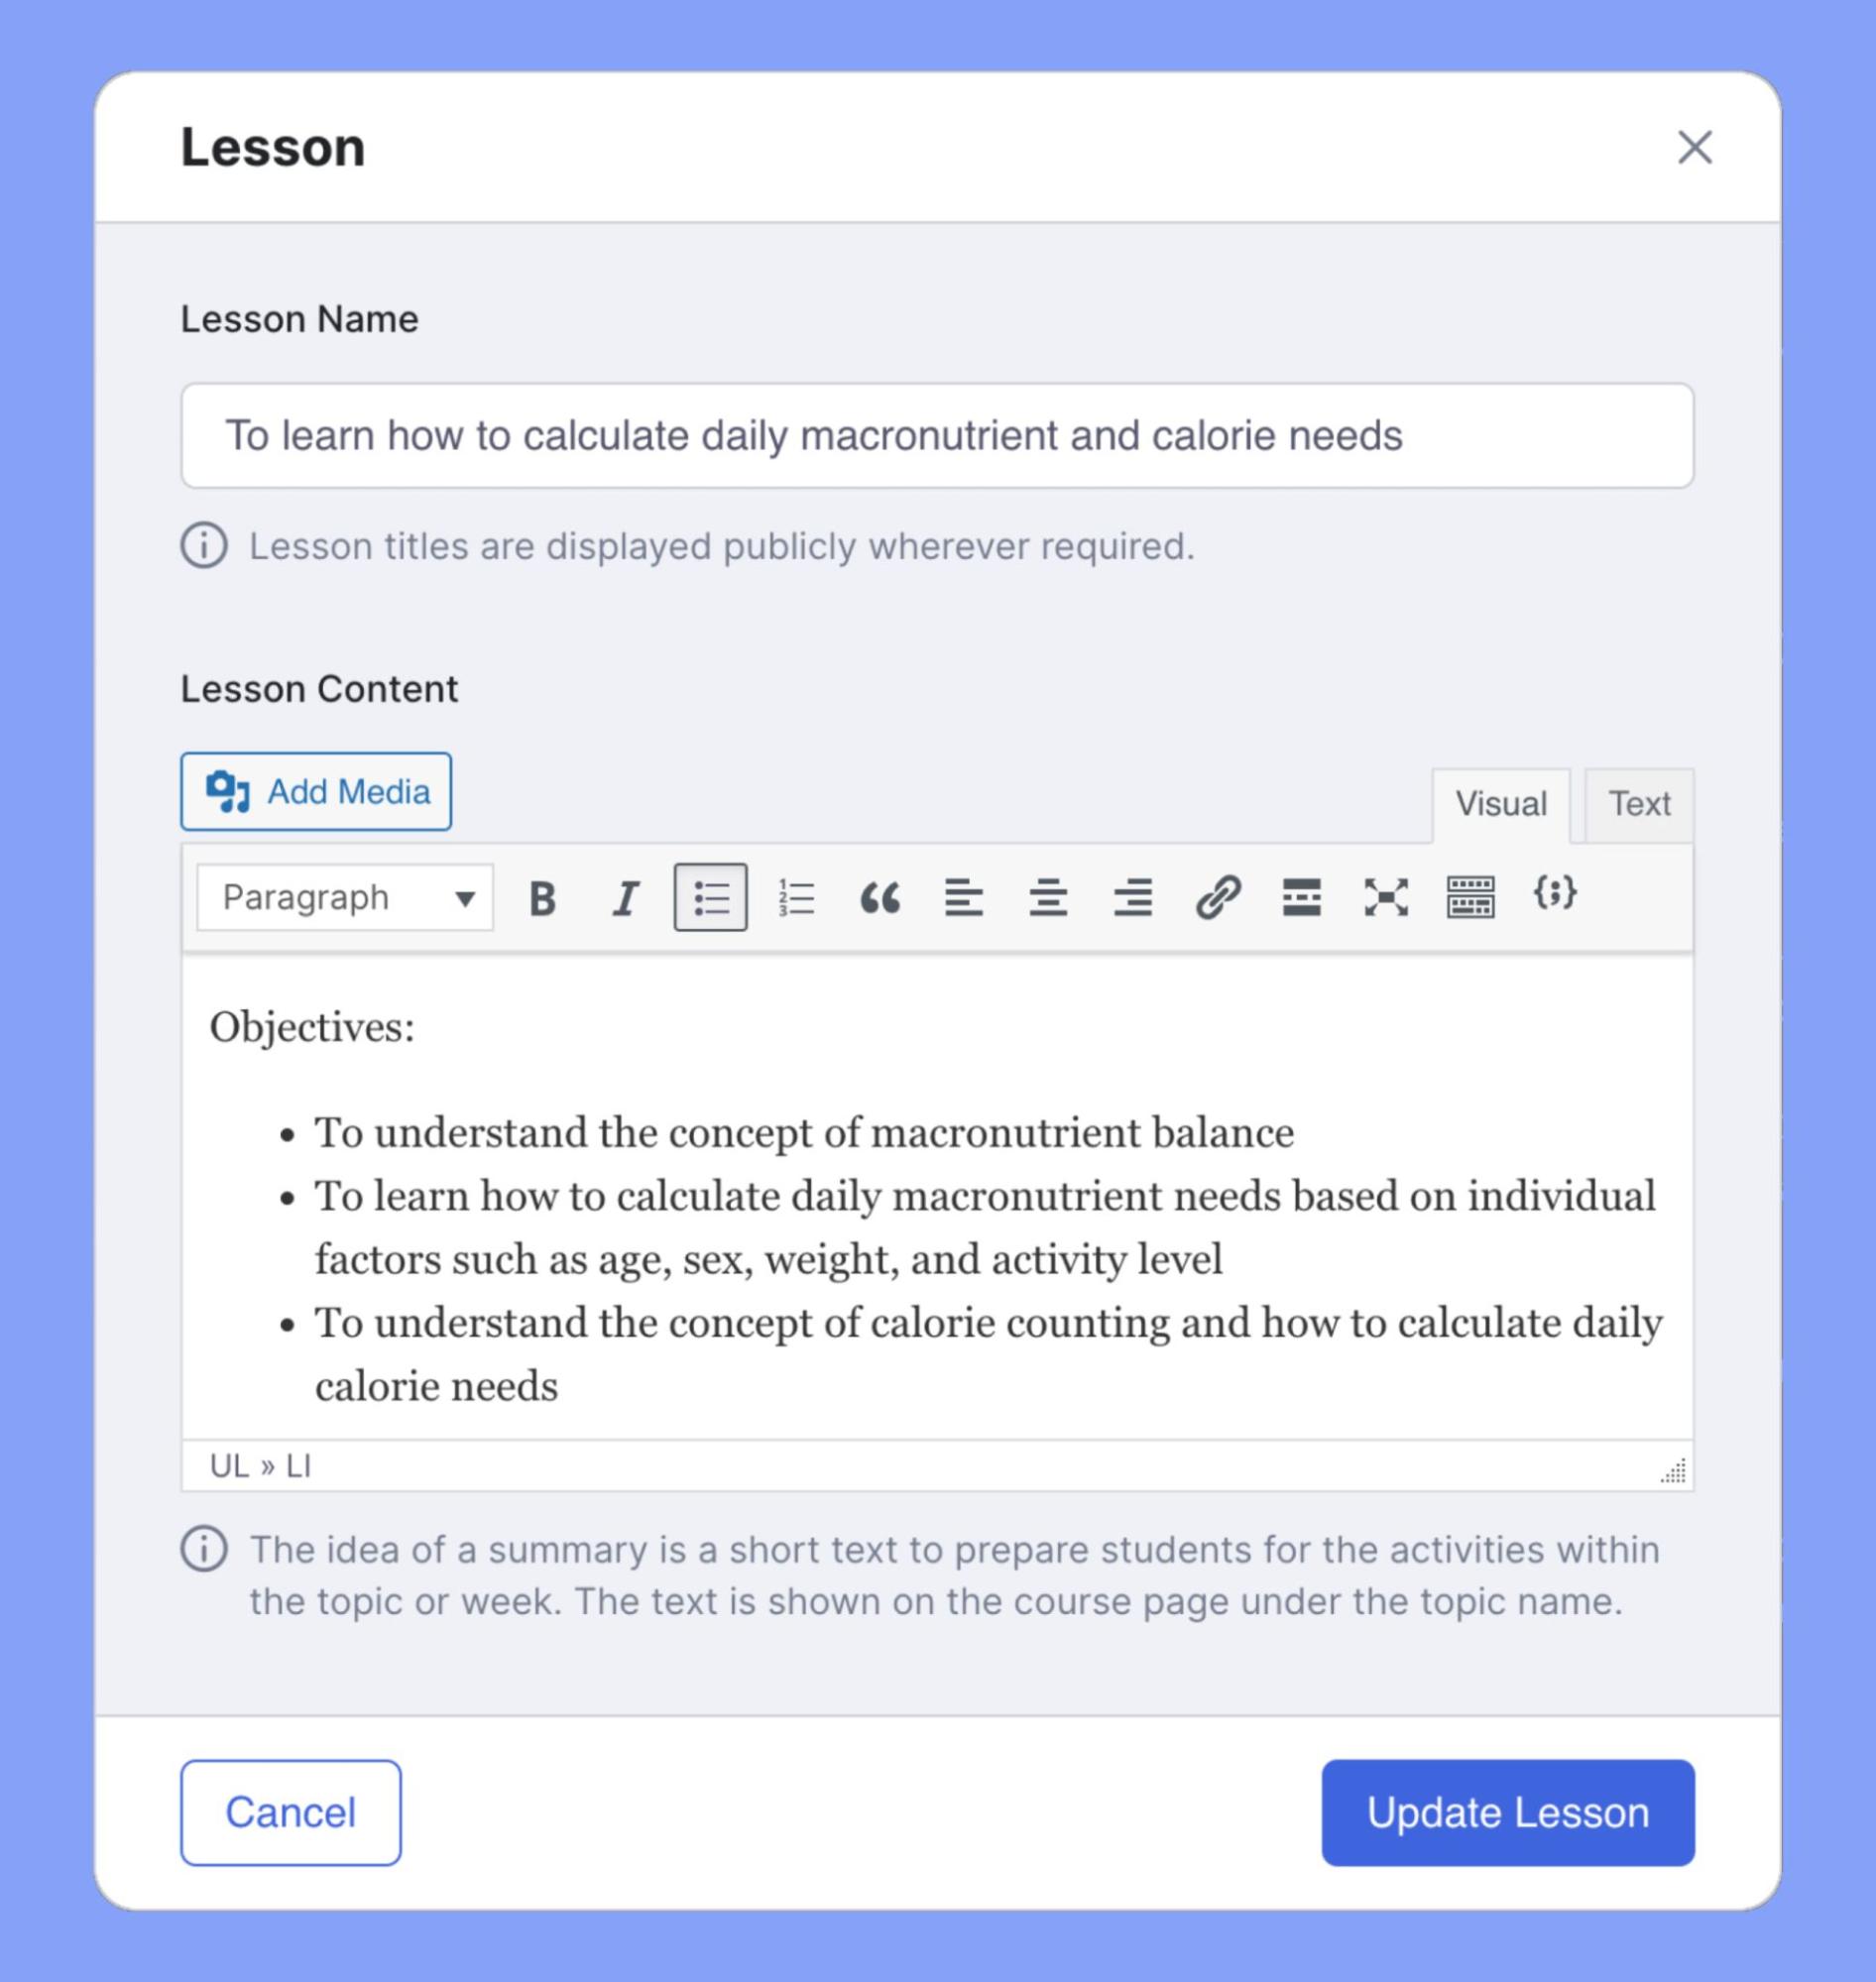
To add a new lesson, click on the “+Lesson” button.
In the “Lesson” window, enter a title and description for the lesson and upload a featured image if desired. Then, scroll down to find additional options such as Video Source, Upload Attachment, and more. These options are explained below.
Video Source: Select the source of the video lesson.
Note: If you’re using a YouTube video, remember to change the “Visibility” setting to “unlisted”. That way, it won’t be visible to the public on YouTube – only within your course. Here’s how to do that.
Video Playback Time: Specify the total playback time of the video in hours, minutes, and seconds.

Upload Attachments: Upload any necessary materials for this lesson here:
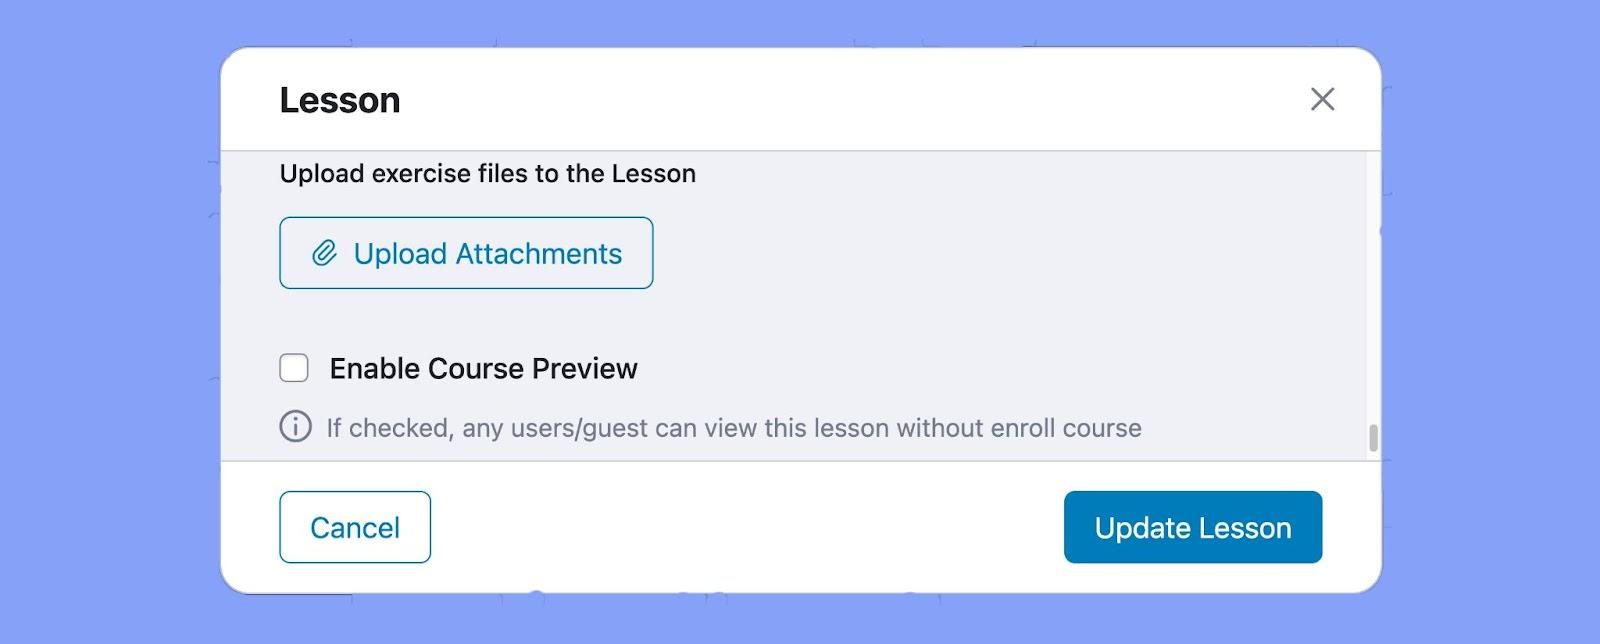
Enable Course Preview: Make the lesson available for anyone to view, whether they have enrolled in the yet course or not. For more information & to see what it looks like, refer to our documentation here.
Add Quiz (Optional) #
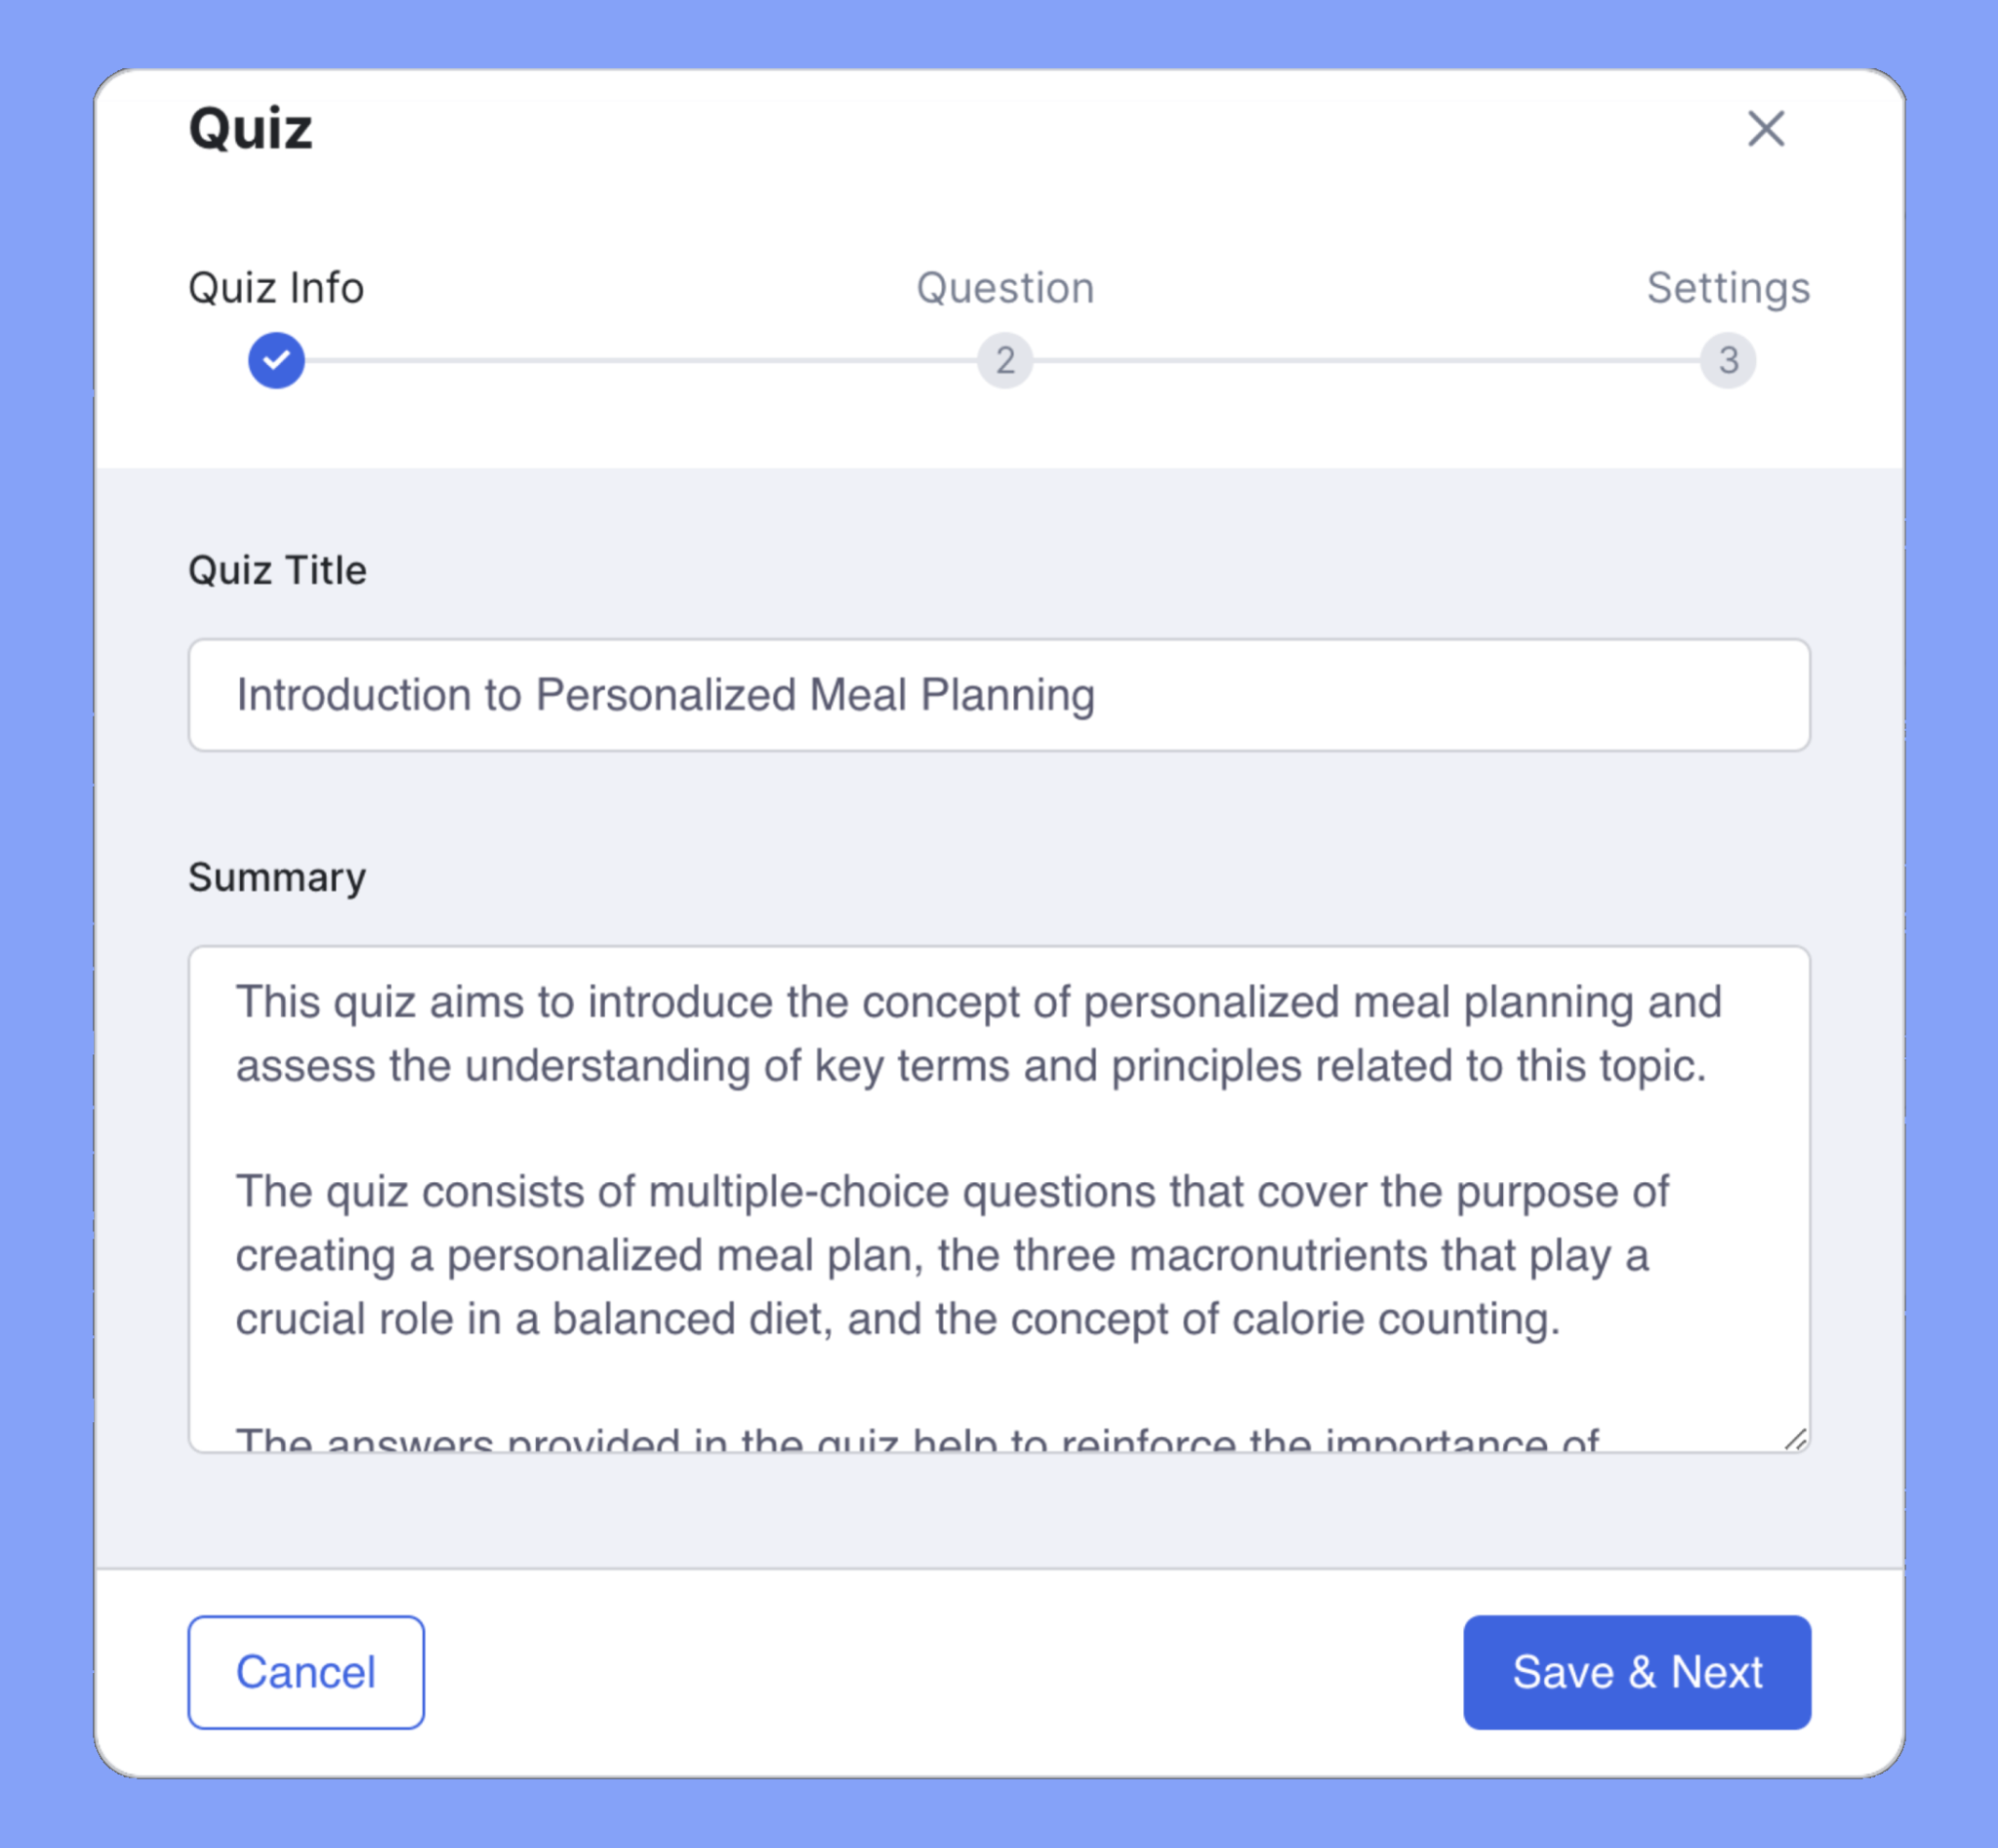
To create a quiz, click on the “+Quiz” button to open the Quiz Builder. The Quiz builder is an extensive feature, so you’ll find detailed information on the process on its dedicated documentation page.
Add Live Lessons (Optional) #
You can conduct Live Lessons/classes as a part of your course. To do this, you must have a Zoom account and connect it via your dashboard. For further information on Live Lessons, please refer to the dedicated documentation.
Course Attachments (Optional) #
Course attachments are additional resources you may use in your courses. Such resources can include practice files, example files, downloads, and other documents. You can upload these attachments here, and they will be available for students to download under the “Resources” tab on the Course Details Page:

Additional Data #
The following data acts as informative data for potential students while also acting as marketing material for your course:
“What Will I Learn?” #
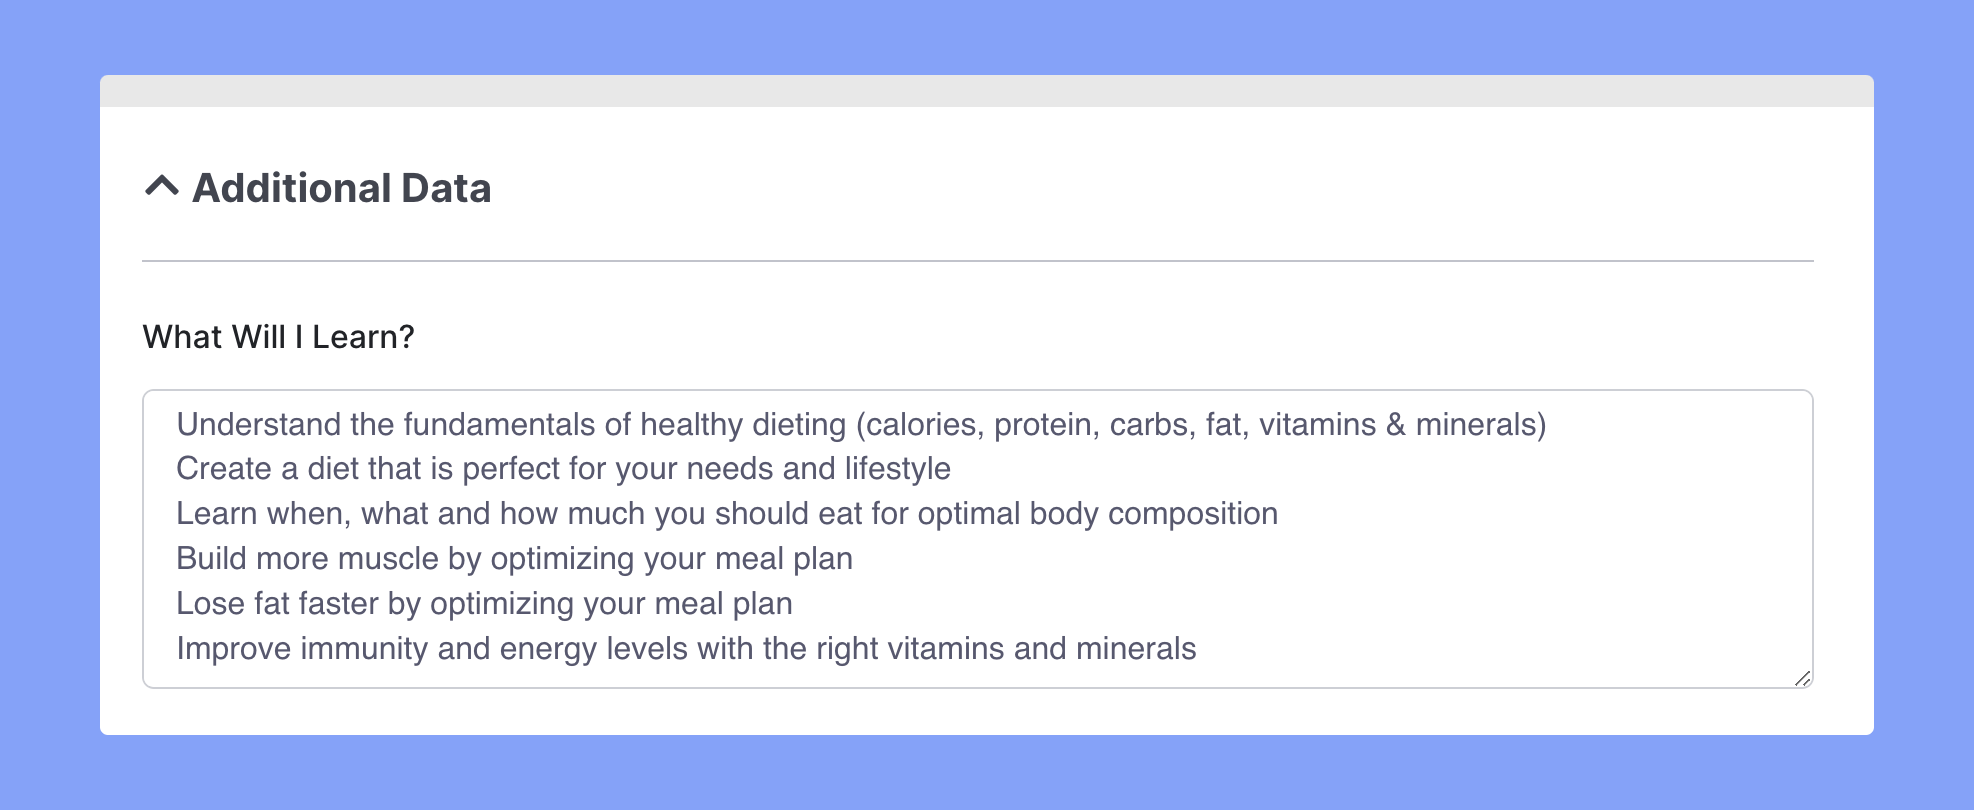
List the knowledge and skills that students will learn after completing this course. (One per line)
Target Audience #
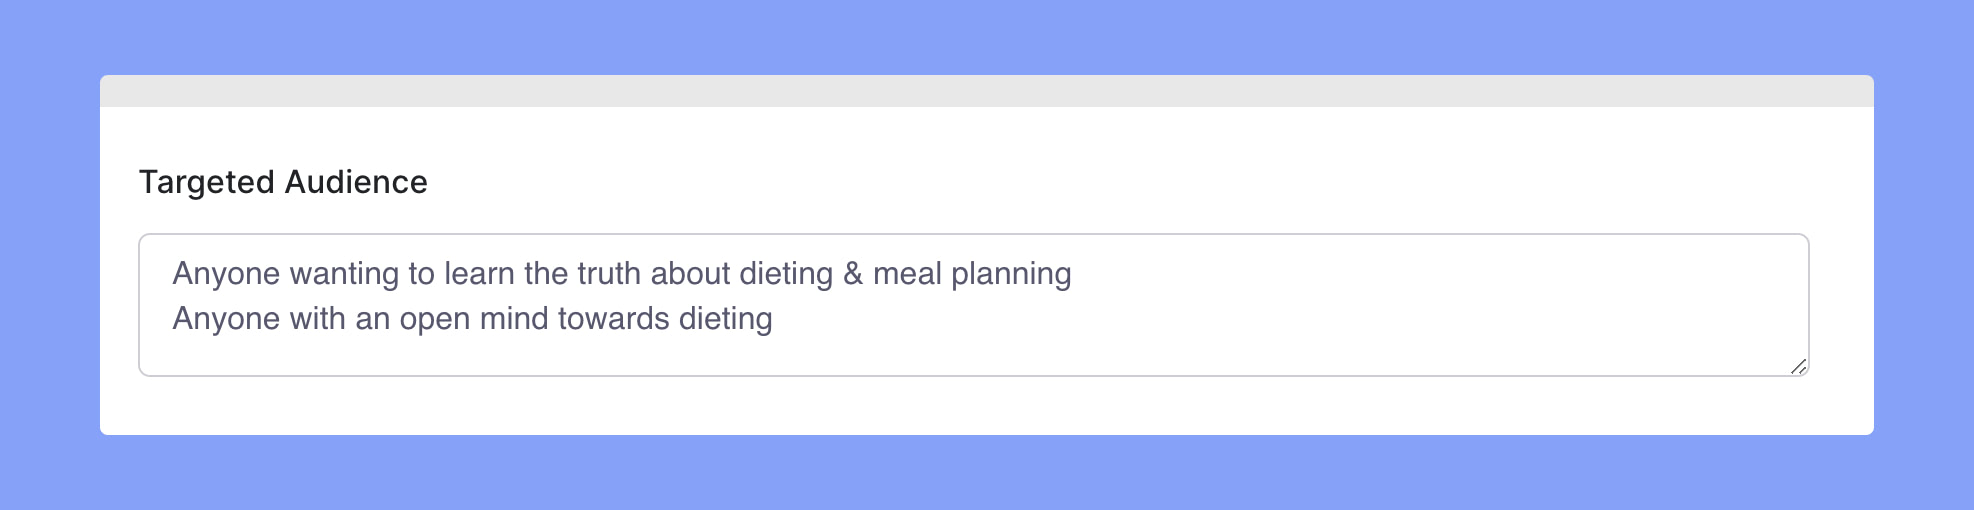
Specify the target audience that will benefit the most from the course. (One line per target audience)
Course Duration #
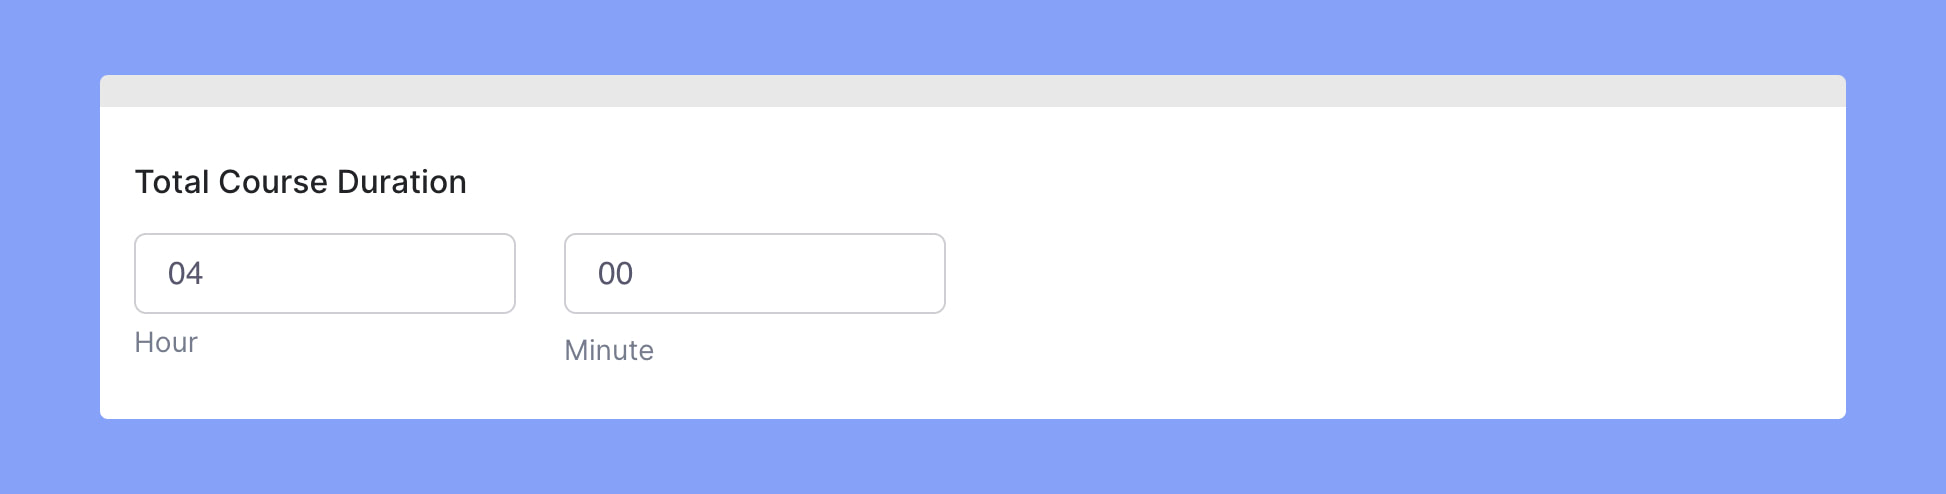
Specify the overall duration of the course, i.e. how long it will generally take for a student to complete this course.
Materials Included #
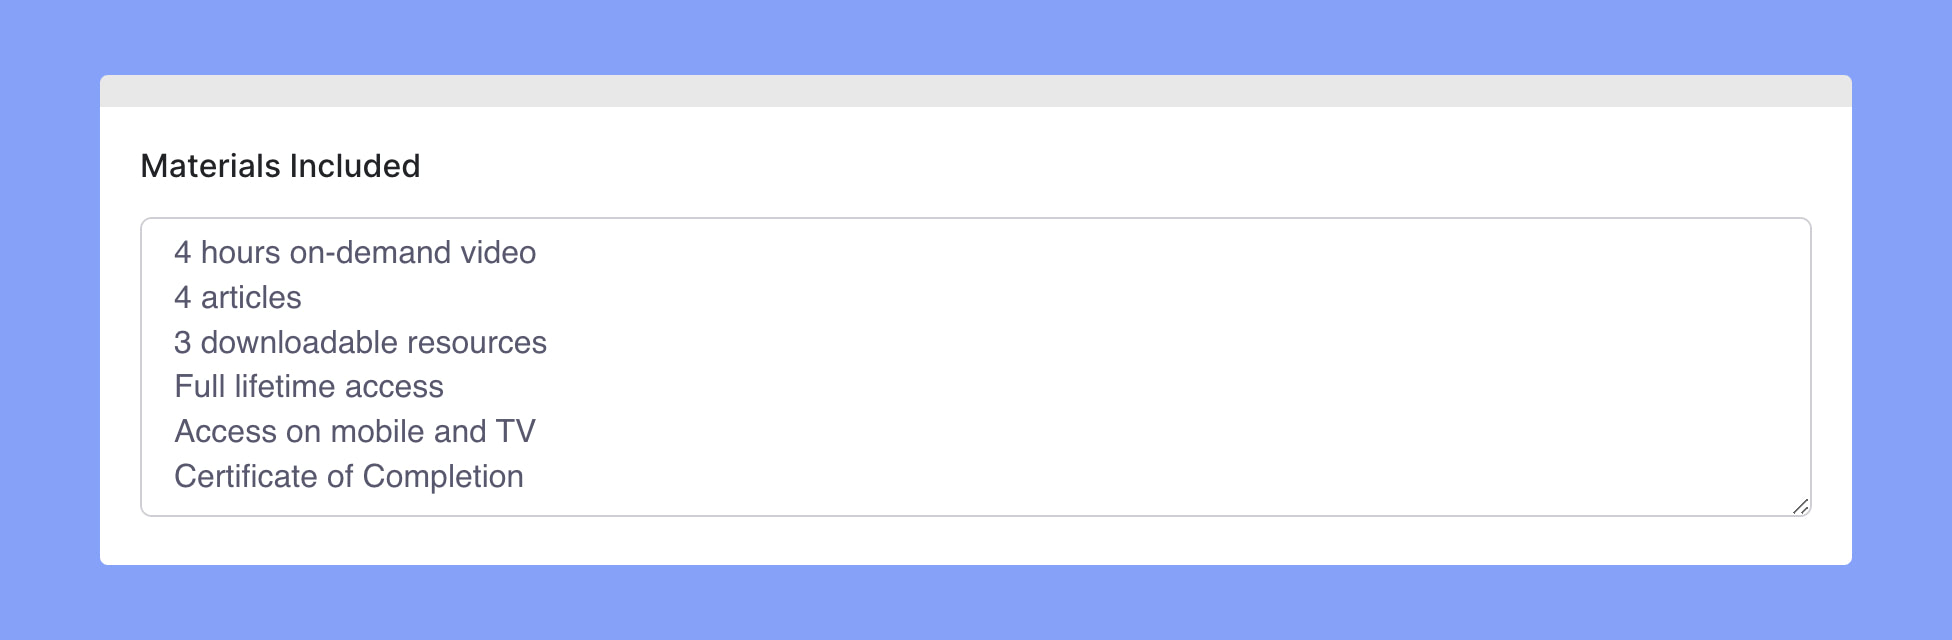
A list of assets you will be providing for the students enrolled in this course. (One per line)
Requirements #
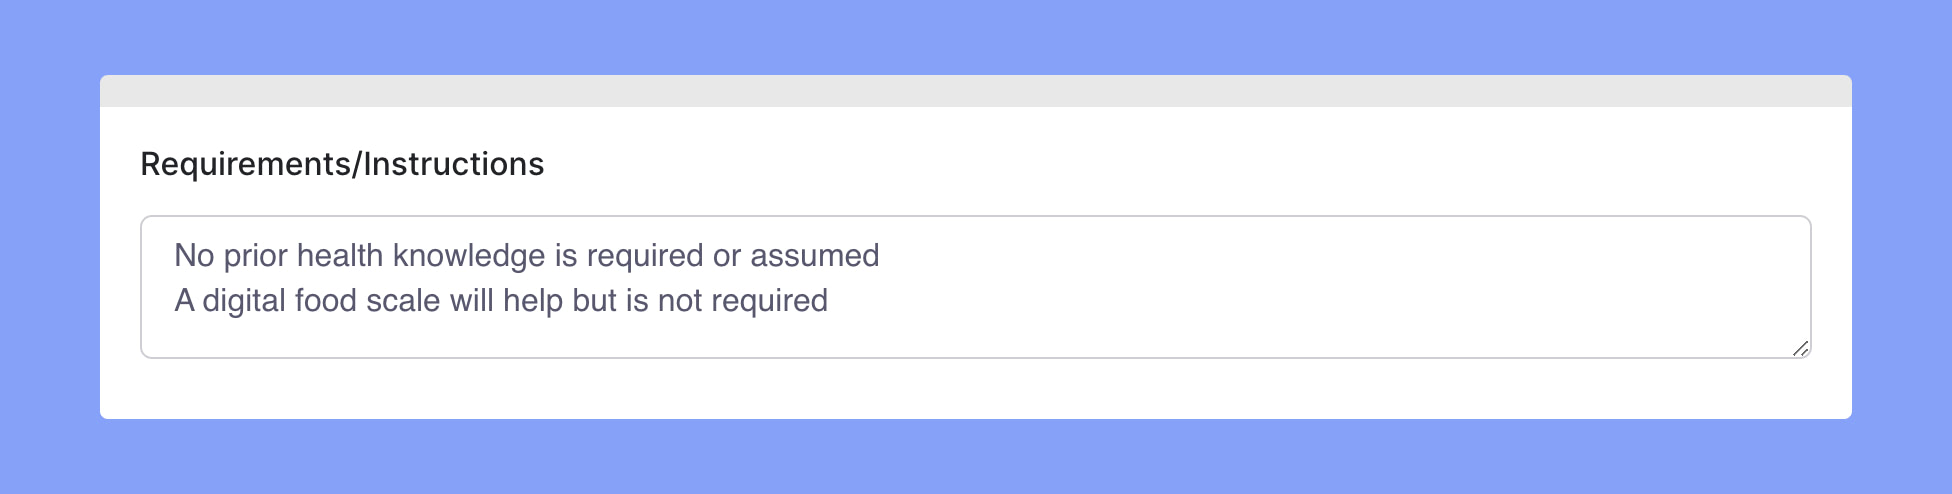
Add any additional requirements or special instructions for the students. (One per line).
Course Prerequisites (Optional) #
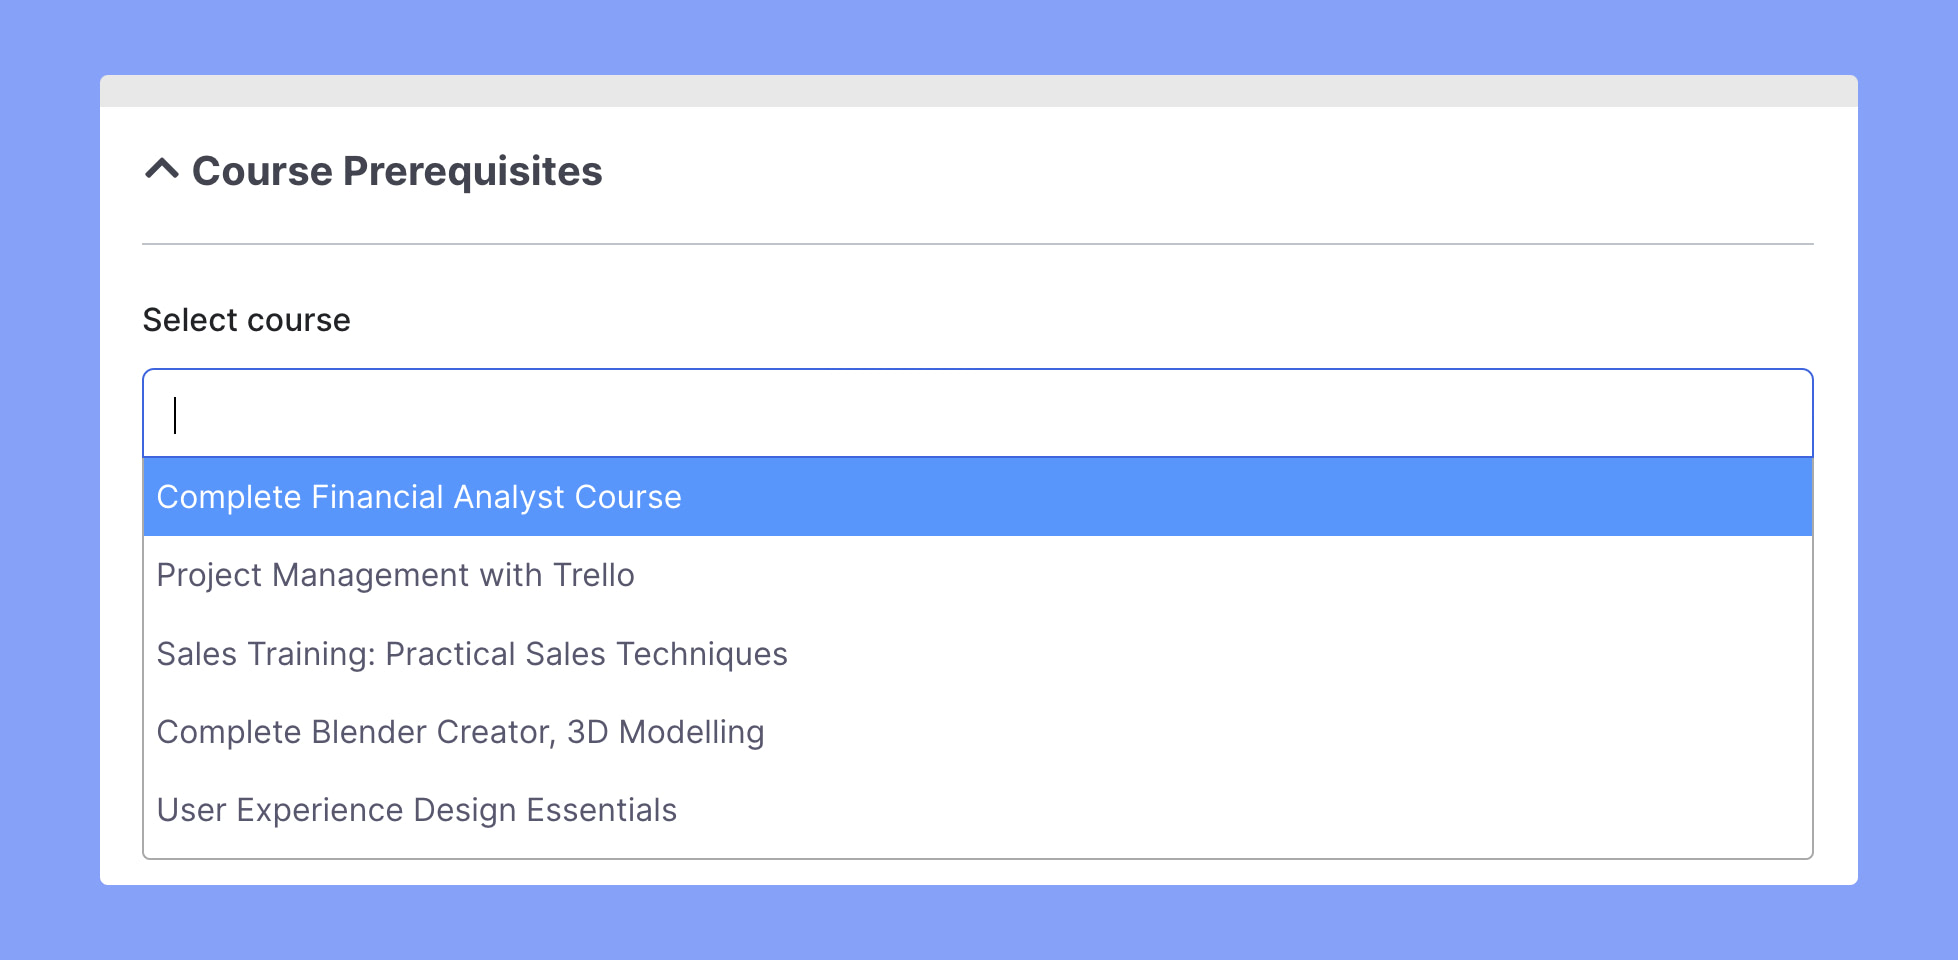
Prerequisites are specific courses that must be completed before accessing the specific course you are currently creating/editing. See what it looks like on the documentation page here.
For example, if you have two courses: “Course A – basic level” and “Course B – expert level”, you can set “Course A” as a prerequisite for “Course B”, ensuring that students have a thorough understanding of the basics before moving on to more complex topics.
Use this feature to ensure that students have the necessary foundation and understanding to complete the course and receive maximum benefit from it. Learn more on the documentation page.
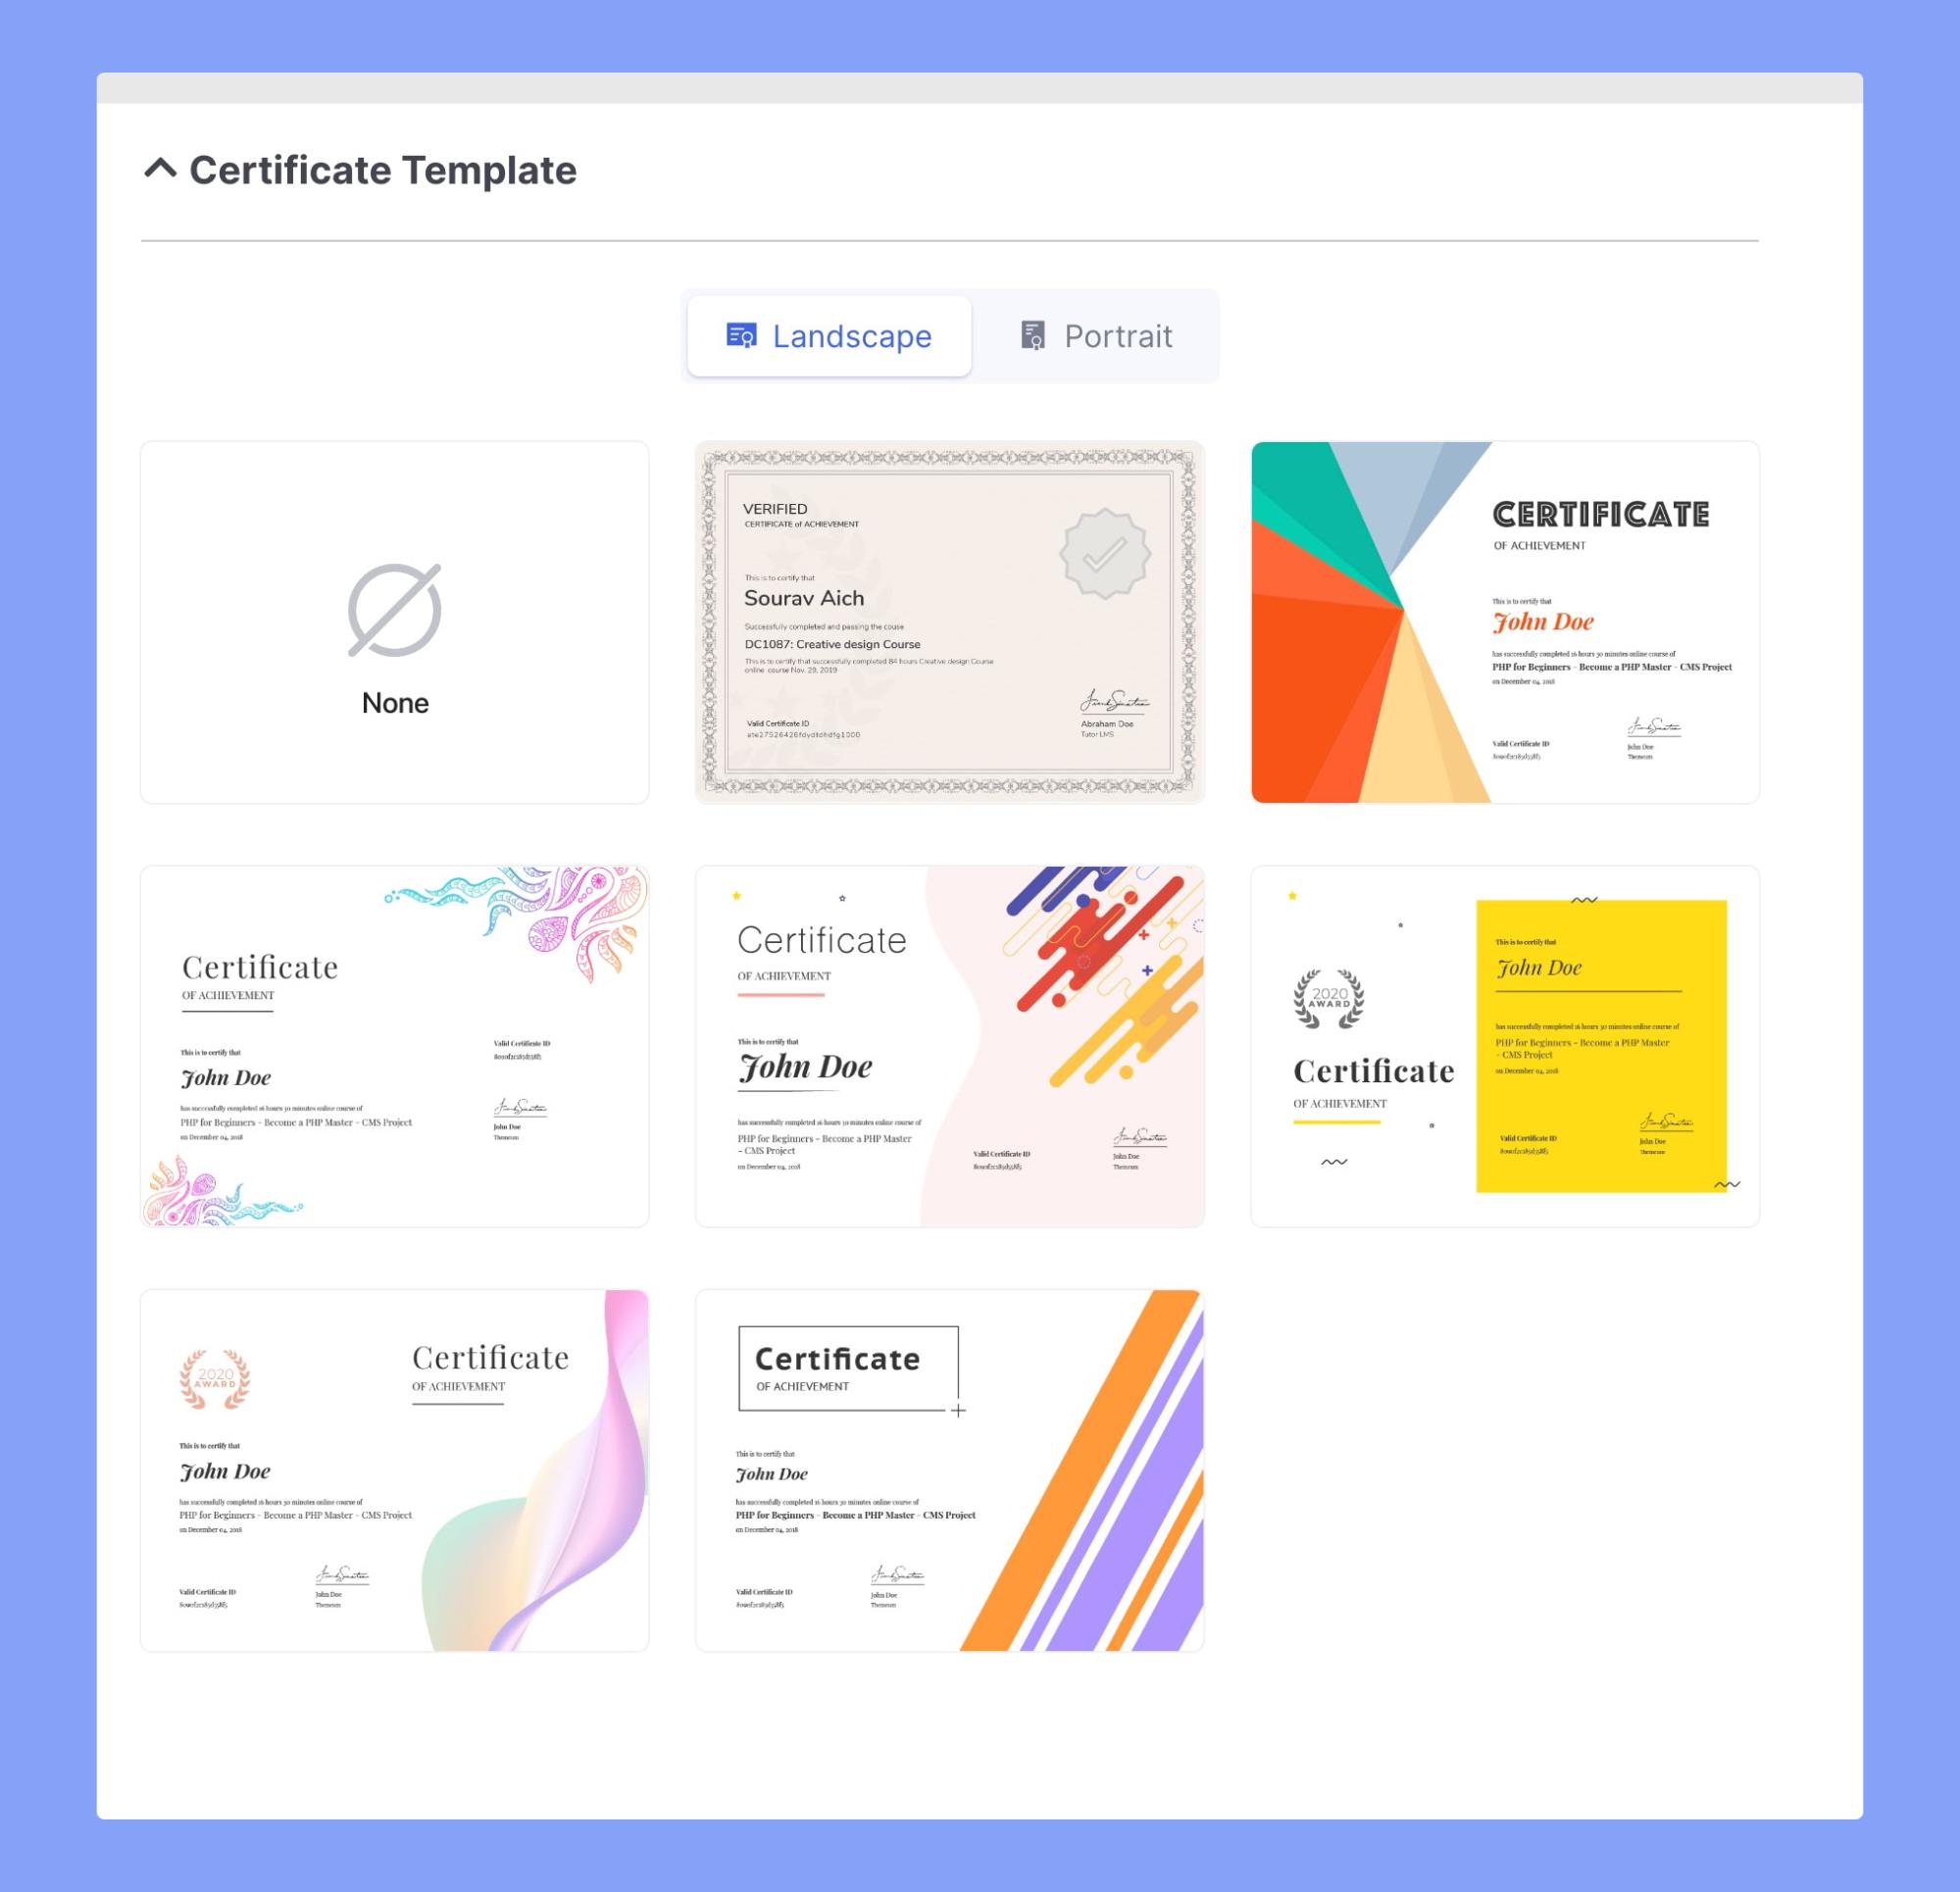
Certificate Template (Optional) #
The Certificate Template section provides the ability to select a certificate template for students to receive after they have completed the course.
For more information on how to set up & use certificates, refer to its dedicated documentation.
Test & Preview Your Course #
After saving as a draft or publishing your course, you can preview what the experience will look like for students.
To do this, go to “My courses” on your dashboard & click on the specific course. Scroll down to “Course content” and click one of the lessons, quizzes, etc:

This will open up the Course player. This is where students will access all your lessons, quizzes, and more:
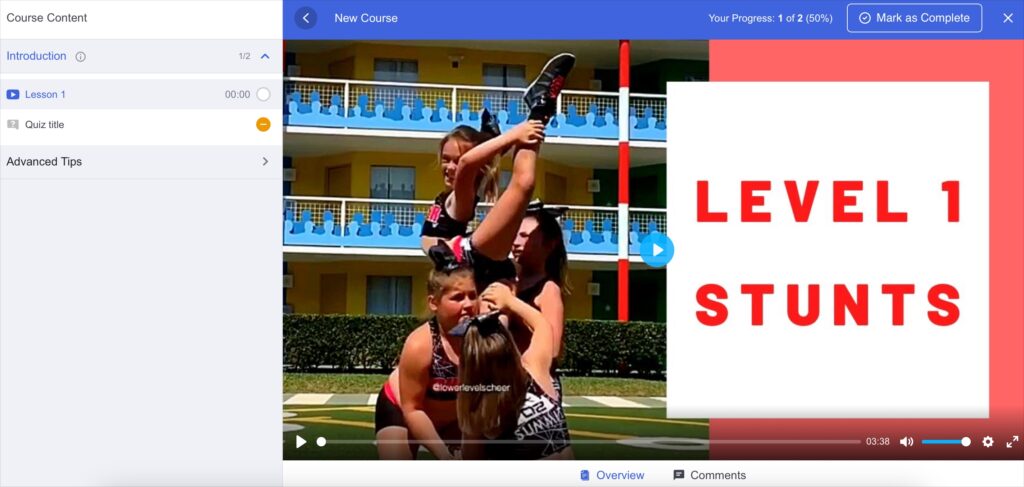
You can use this to test the content and make sure everything is set up correctly!
How Students Access the Course #
Once a student has enrolled in your course, it will be listed under “Enrolled Courses” in their dashboard.