Want to offer students a personal certificate after completing your course? You can choose between already-made templates, or create your custom certificate. Here’s how!
Use a certificate template #
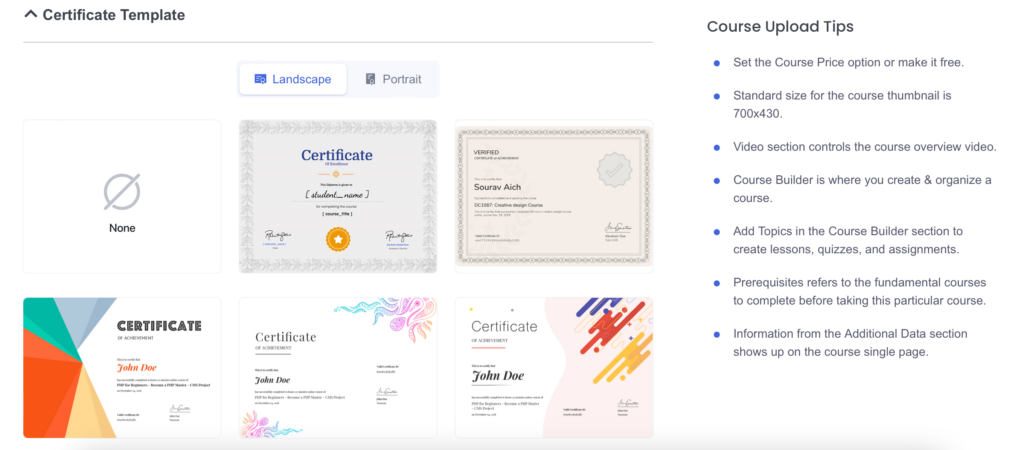
When creating or editing a course, scroll down to the Certificate Template section. This provides the ability to select a certificate template if you do not want to customize it or create one from scratch.
Hover over your preferred template and click on Use This.
Design a custom certificate #
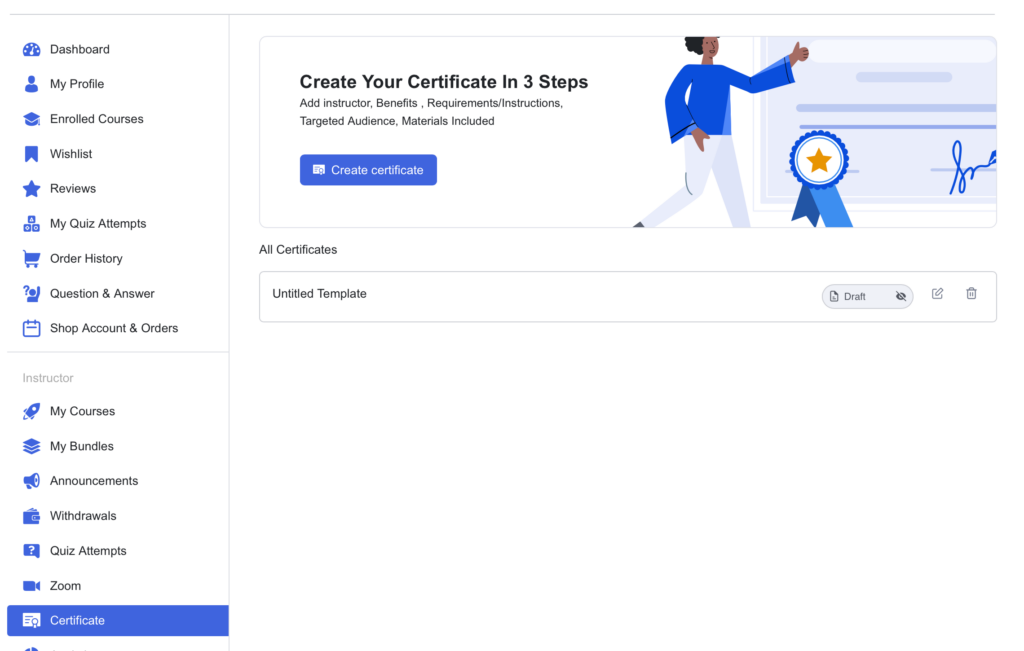
From your dashboard, click “Certificate” in the menu on the left:
Start by clicking the “Create Certificate” button which opens the Certificate Builder. Here, you can choose to customize an existing template, or create your own from scratch:

Elements #
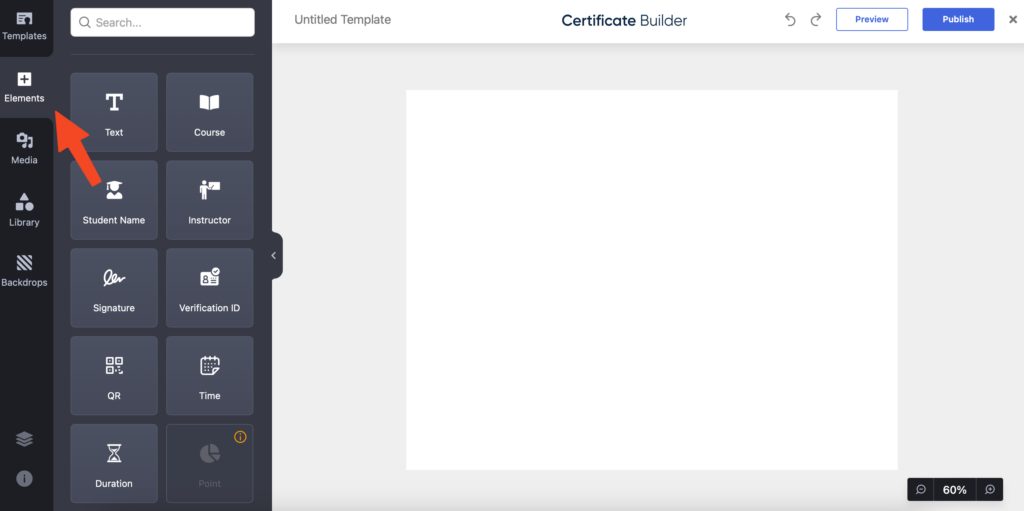
Below is a list of Elements that you can add to your certificate:
- Text: A regular text box to add any text you want. You can change the font, color, size, and more.
- Course: Adding the course element will dynamically pull in the course name of the course that the certificate is added to. No need to do anything manually – it will automatically add the correct course name. You can change the font, color, size, and more.
- Student Name: Just like the course element, this will add the student’s name dynamically to your certificate.
- Instructor: Like with the previous elements, this will automatically add the instructor’s (your) name to the certificate.
- Signature: Upload an image and add it as your personal signature.
- Verification ID: This will automatically add a unique ID to the certificate, which can serve as an option for you to authenticate that a student’s certificate is authentic.
- Point: Show the points received for the course in the certificate. (May not be available yet, please contact us if you wish to use this option).
- Grade: Display the course grade in the certificate. (May not be available yet, please contact us if you wish to use this option).
- QR: Add a QR code on the certificate that anybody can scan and be redirected to the certificate URL to view it.
- Time: Display the time that the certificate was awarded to the student.
- Duration: Display the course duration.
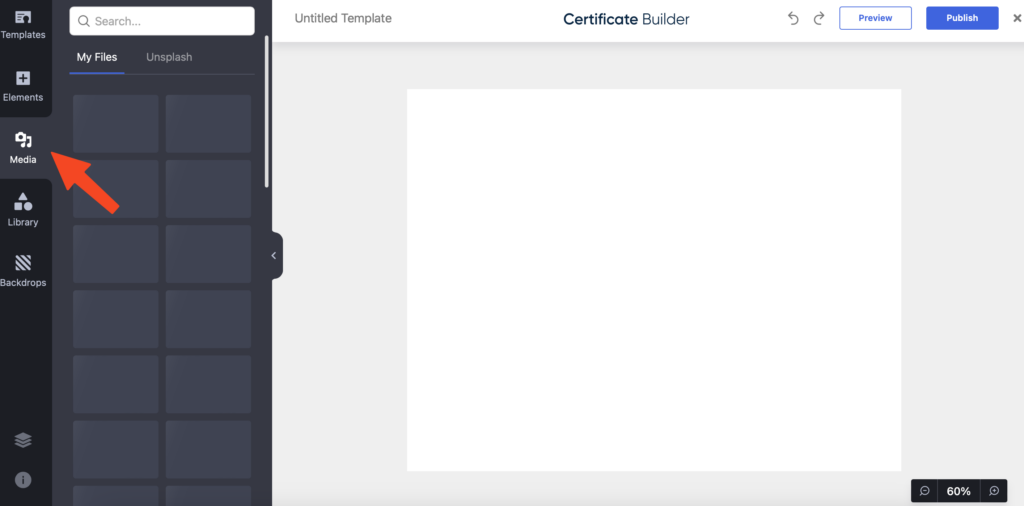
Media #
Choose between two kinds of media files – either upload your own, or use the “Unsplash” tab for free images to use:
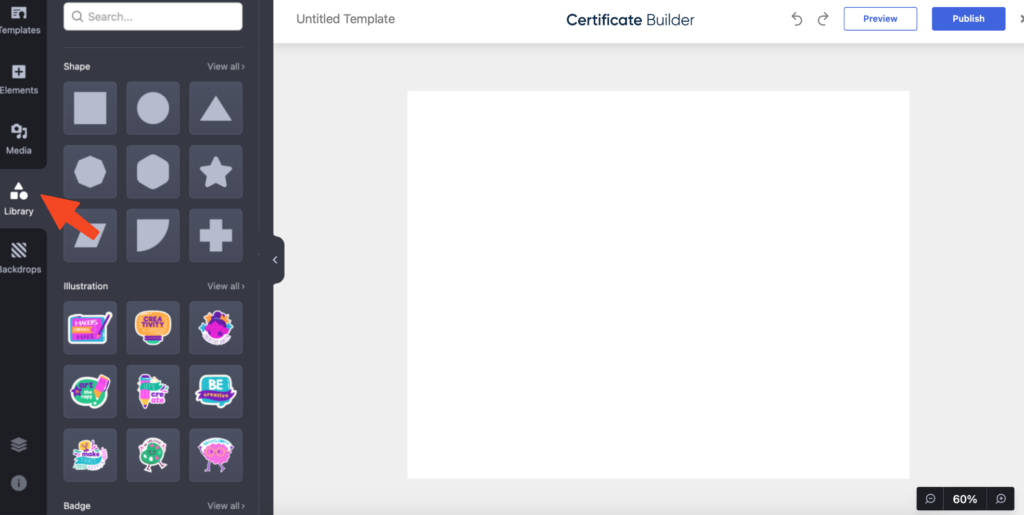
Library #
Find illustrations, badges, frame design, border design, watermarks, and more that you can use to customize your certificate. You can further customize the elements by changing the colors, size, position and more:
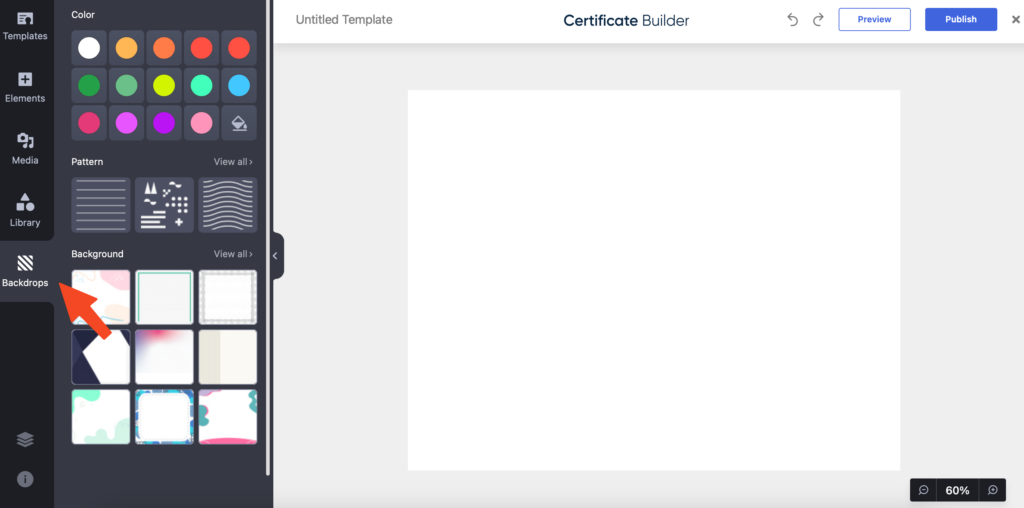
Backdrops #
Customize the background of the certificate. Choose between:
- Colors: Pick a solid color to add as the background.
- Pattern: Add a pattern as the background.
- Background: Pick a premade background image.
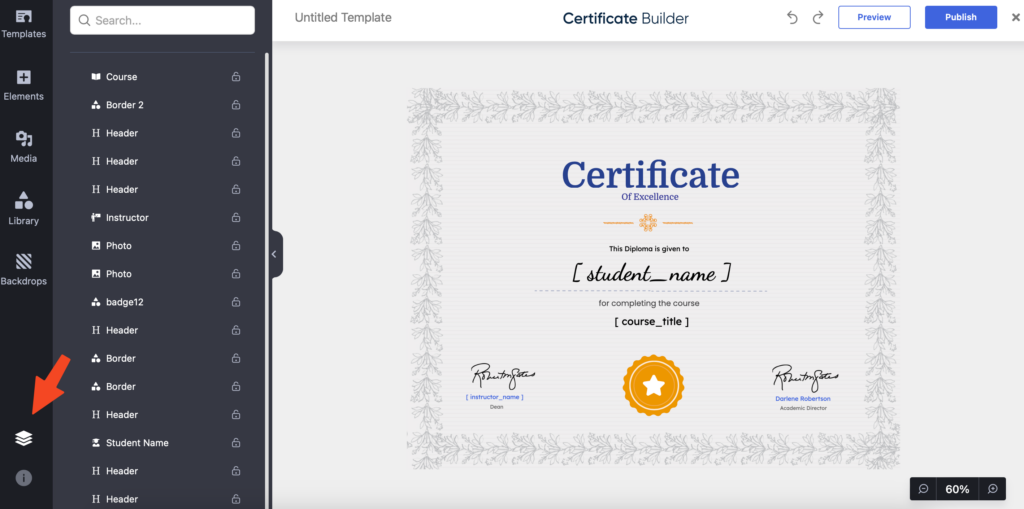
Layers #
The layers feature makes it easy to rearrange and edit the different elements of your design.
For example, if you would like to customize an element that’s underneath another element, you can easily select that specific layer and customize it.
You can also lock or unlock a specific layer to keep it in place.
Publish your certificate #
Click “Publish” in the top right corner of the Certificate Builder. After you’ve published your Certificate, it’ll appear in the Certificates section on your dashboard. From this section, you can edit, unpublish, or delete any Certificate:

Add Certificate to a Course #
To assign the published certificate to a course, go to the specific course (“My courses” on your dashboard) and click the Edit button.
Scroll down to the Certificate Template section, and you’ll see all the available certificate templates. Select the certificate that you have just published, and hit Publish Course when you are ready.
Now, when a student completes the course, the “View Certificate” button will appear on their course home page:

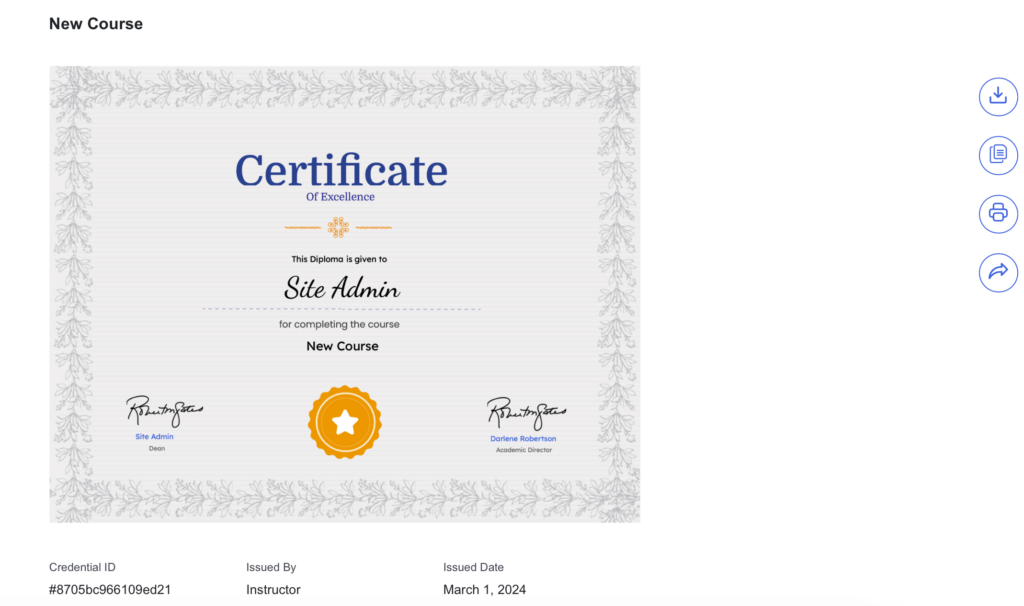
When clicking the button, the student will be able to see their certificate. The certificate is available for download, print, and share on social media platforms: